Bathroom Tile Part 1
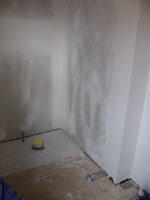
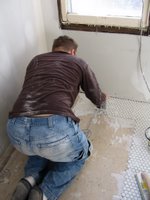
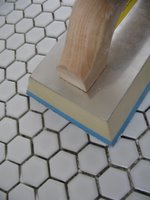
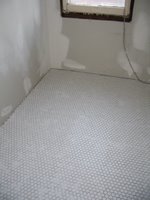
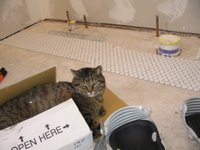
Last weekend, we installed the mosaic tiles in the upstairs bathroom. We're getting closer and closer to bathing in our own house, just not quickly enough. After about 5 1/2 hours of laying tile, we ran out, just 6 sections short. So we had to wait until Monday when the tile company was open again to pick up more. Not a big deal, because our backs and knees couldn't take any more than that! So now it's all down, and we are just waiting until it's cured to start on the wall tile. The bucket of thin-set said it took 48 hours to cure, but it was still squishy when we stepped on it on Wednesday. Hmm, so we wait a little longer. Being the amateurs that we are, we are petrified to start on the wall tile. The bathroom floor is fairly level (as far as old houses go), except for one small slope in the middle that causes the floor to dip just slightly. So the question is, do we apply the wall tile to match the slope, or try to keep it level? Chris is thinking we should just get a quote on having someone else do it, I think we should just go for it and see what happens. If anyone has any advice as to applying wall tile, we are all ears!

4 Comments:
Your tile looks great! Great job! I know what you mean about being closer to bathing, lol. Our gutted bathroom does have a new tub, but that's it. We're going to be putting down larger floor tile and tile in the tub surround. I think the floor should be easy, but like you, I worry about the tub surround. I'm dreading it, actually, lol! I like your philosophy - just go for it!
Keep it level!
Start laying the tile at the lowest point, then as the slope moves up, you cut the bottom of the tiles. The cut will be where the floor meets the wall tile, so it will not be visible.
Make sure you start at the lowest point. If you start at a higher point, there will probably be some places where there is a gap, but the gap is too small to put a piece of tile in. It won't look as nice.
how much is it out? I had some problems with the walls being out of plumb, the size of the cut tiles changes as you go up the wall. My first wall kind of stepped. Mark out your tile well, mark where your cut tiles will be, so you can scribe them in place, instead of measuring. That's what I did on my second wall, and it looks a lot better. I still had to fudge the gaps on a couple courses to get it even on the edge. The octagonal looks great, we couldn't find it locally, so we ended up with hexagonal with diamons.
I have cats on my blog, too!
Post a Comment
<< Home